E-Signing a Document (from email)
E-Sign a document quickly and easily with OneSpan Sign
Step-by-step Instructions
Step-by-step Instructions
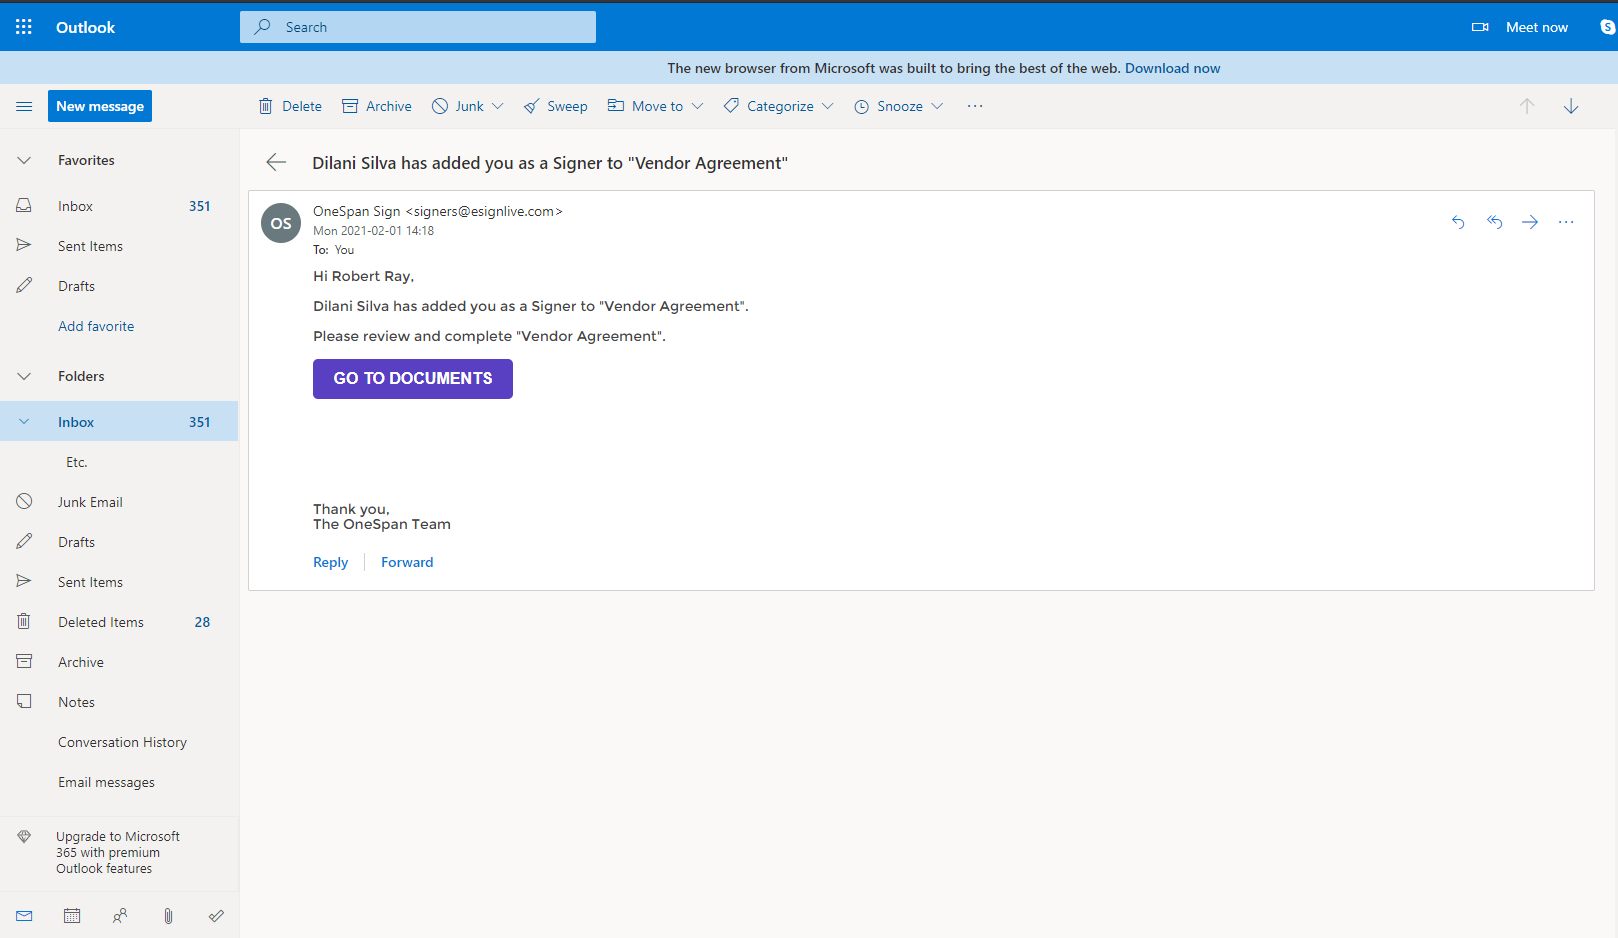
1) As a Signer, you will receive an email request for your signature. Click the link to access the document from your email.
2) Next, you may be prompted to read and accept the ESIGN Disclosures and Consent document. Tick the checkbox to confirm you have read the terms of the document and then click the ‘Accept’ button.
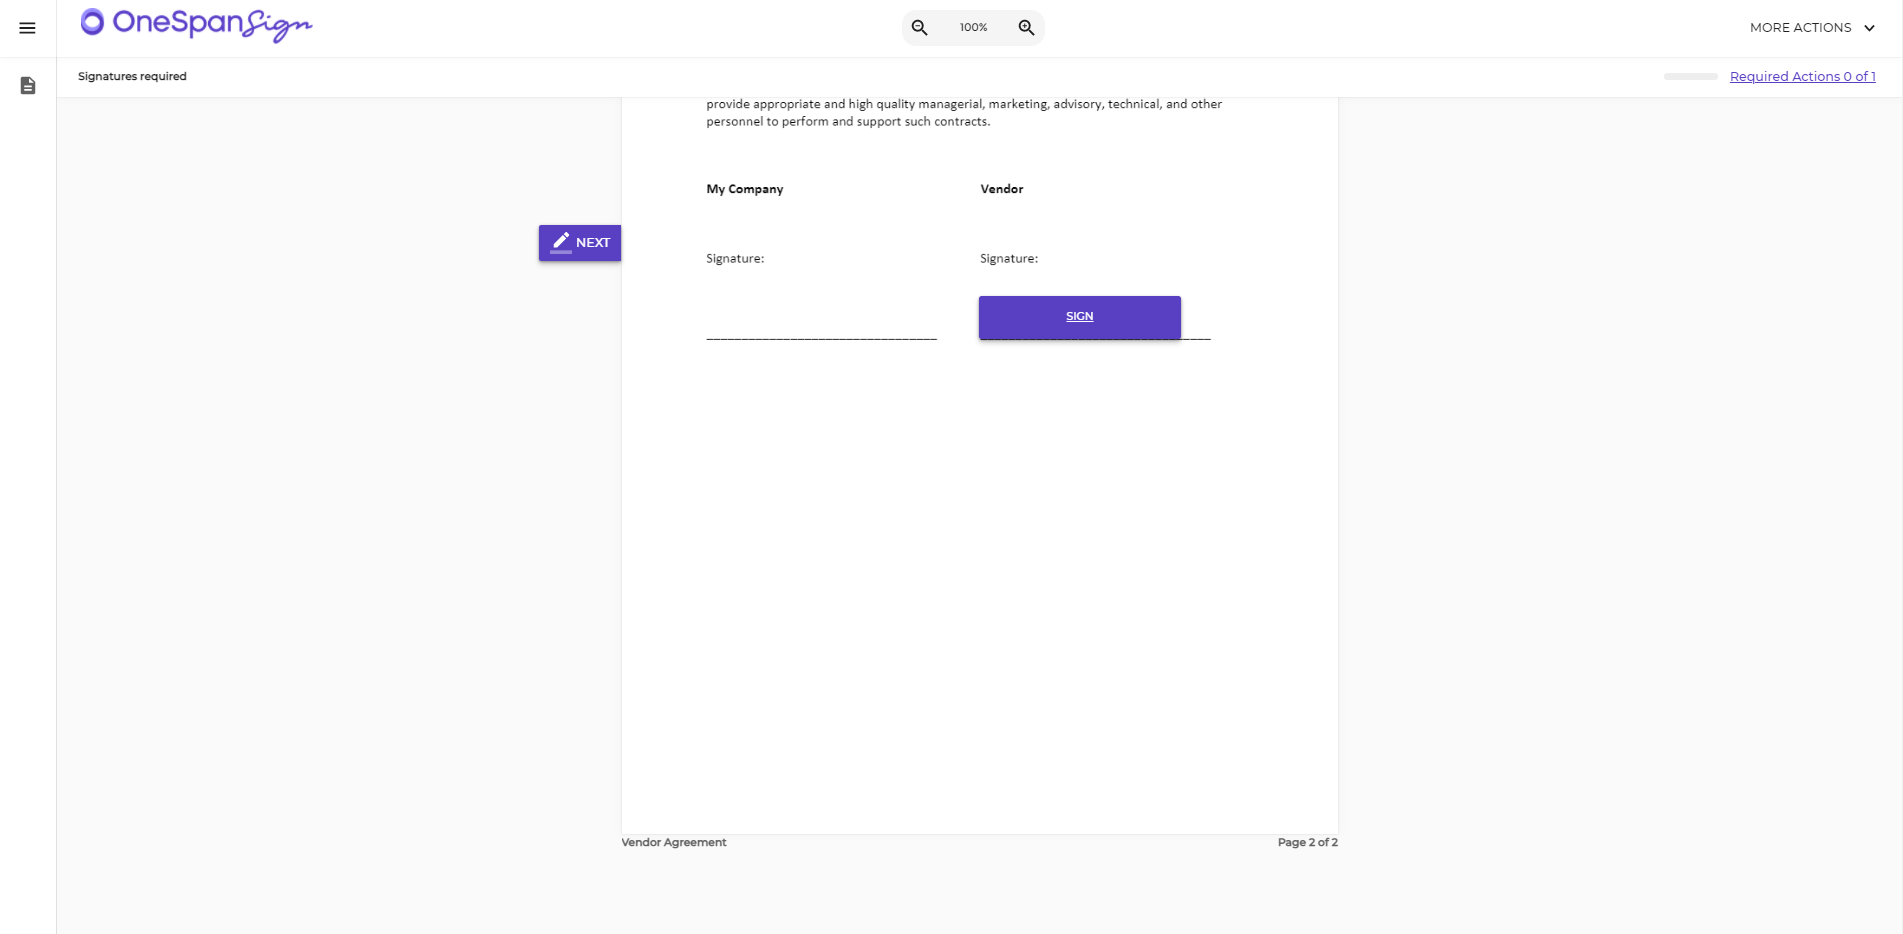
3) You will be directed to the document which requires your signature. Take some time to review the document. The menu on the left-hand side will show you the number of documents in the transaction that require your signature. In this example, there are 2 documents in the transaction that require your signature.
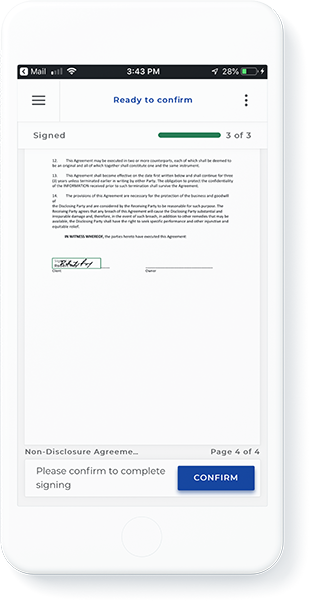
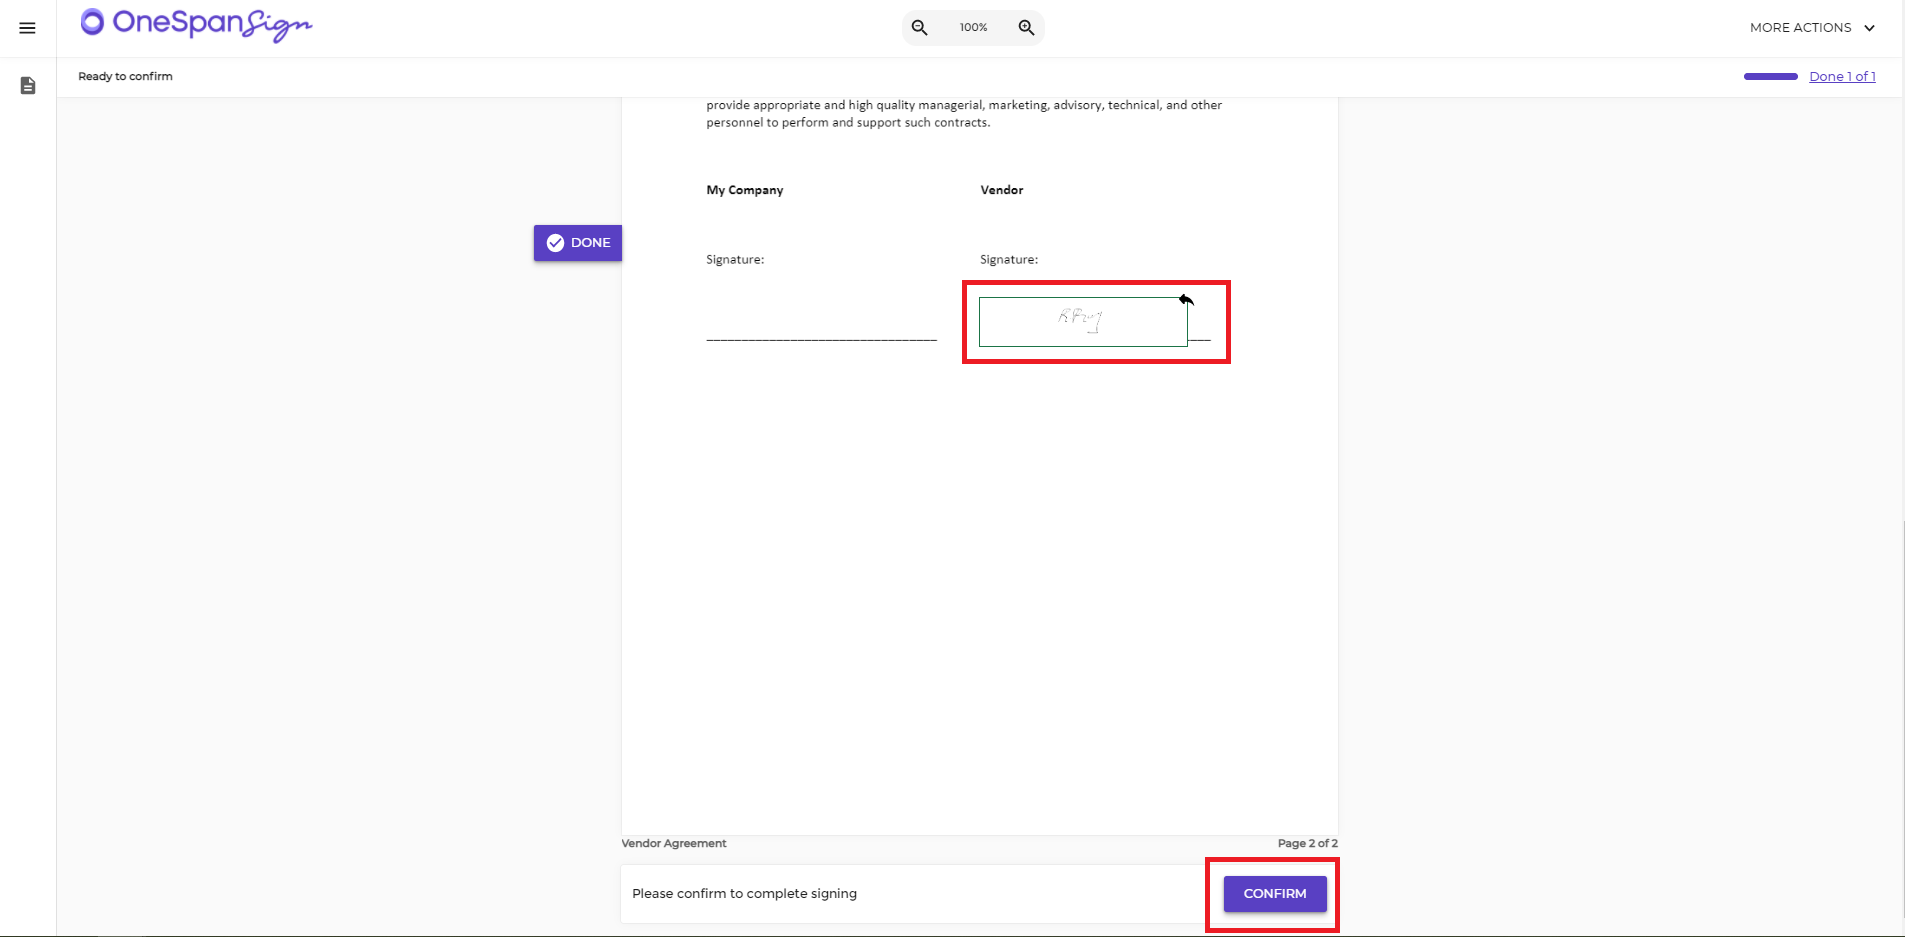
4) To e-sign the document, simply click on the signature box. Once you are done signing the documents, click the Confirm button.
FAQ Questions
Who do I contact if I have questions about the document sent to me to e-sign?
OneSpan Sign sends email notifications on behalf of our users. If you have a question about a document sent to you, contact the person who sent you the email about the e-signature request.
I failed authentication and cannot access the document to e-sign. What do I do?
Contact the person who sent you the e-signature request to re-initiate authentication.
Can I download a copy of the e-signed documents for my records?
Absolutely! After the e-signature session is completed, you will have an option to download the e-signed documents from the top task bar. You can click the ‘Download all files’ button. What’s more, a copy of the e-signed documents will also be e-mailed to you once the e-signing session is completed.
I’m trying to access the document from my email. When I click the ‘Go to Documents’ button, the link won’t let me access the document to e-sign. What should I do?
One of the most common causes of this issue is email blocking. The email service you are using may recognize the OneSpan Sign email notifications as spam and may be filtered to your spam or junk folders. The ‘Go to Documents’ link may be disabled.
Make sure to indicate that the OneSpan Sign email notification is not spam and move it to your inbox. The ‘Go to Documents’ button should now work and let you access the document to e-sign.
E-Signing a Document (from Dashboard)
Step-by-step Instructions
Step-by-step Instructions
1) First, select ‘Requires My Signature’ from the ‘My Transactions’ section of the dashboard. In this example, Paul has 3 transactions that require his signature.
2) From the ‘Transactions’ screen, select a transaction that needs to be signed.
3) You will be directed to the document that requires your signature. Take some time to review the document. When you’re ready to sign the document, simply click on the signature box.
4) Once you are done signing the document, a ‘Confirm’ dialog box will appear. Click ‘Ok’ to confirm your signature.
5) A ‘Requires your signature’ dialog box will appear, prompting you to sign the next transaction in the queue that requires your signature. Click ‘Sign Now’.
E-Signing with Digital Certificates
Securely e-sign documents using digital certificates stored on smart cards and tokens
Step-by-step Instructions
How Senders Can Configure a Transaction to Enable E-Signing with a Digital Certificate
To begin, ensure the ‘Signing with Personal Certificates’ option is enabled in your OneSpan Sign account.
Click the ‘New Transaction’ button in the top right hand corner.
Enter a title for your transaction. Click the ‘Create’ button.
Add your document and recipient to the transaction
Click the ellipses icon for the signer who needs to e-sign the transaction using their digital certificate, then click ‘Settings’. In this example, Sam will e-sign the transaction using his digital certificate.
Next, in the Recipient Settings dialog box, select ‘Signing Method’. In the drop-down menu, select Personal Certificate’ then click ‘Save’. Your signer can now e-sign the transaction using their digital certificate.
Click ‘Next’
Add signature blocks to the desired locations on your document for your recipient to sign. Click the ‘Send to Sign’ button to distribute your document for signing.
How Signers Can E-Sign a Transaction With a Digital Certificate
Access the document to e-sign from your email.
Next, click the signature block to start the signing process and then confirm your signature on the document.
The ‘Certificate Selection’ dialog box prompts you to select the desired digital certificate to complete the e-signing process. Click the ‘Sign’ button of the digital certificate you’ll use to e-sign the transaction.
After successfully signing the document, a secure, tamper-sealed PDF with a comprehensive audit trail is embedded directly into the document showing who signed, in what order, when, where and which certificate was used to sign the document.
FAQ Questions
How can I get access to this feature?
Please contact our Support team to enable this feature in your account.
Are there any prerequisites for using OneSpan Sign with a digital certificate that resides on a smart card?
Yes. You will need to install the Personal Certificate Client software, which creates a communication link between your computer and smart card reader. If the latest version is not installed on your computer, you will be prompted to do so.
Will I need to enter a PIN when e-signing with a smart card or token?
Most smart cards and tokens issued by government agencies and certificate authorities (CA) require a PIN or password. If that is the case, you will be prompted to enter the designated PIN or password to complete the signing process.
How will my personal digital certificate information be captured in the audit trail?
After successfully e-signing a document with a smart card or token, a secure, tamper-sealed PDF with a comprehensive audit trail is embedded directly into the document showing encryption type, who signed, in what order, when, where and which certificate was used to sign the document. This information is also available in the Evidence Summary Report.
Will I need to use my smart card or token for each signature in the document or just once at the end of the document?
OneSpan Sign will only ask for your smart card/PIN when you e-sign the final signature location of a document. You will be prompted to confirm all your signature(s) in the document to complete the signing process.
Am I required to use my smart card or token to e-sign documents?
It depends. The Sender of the transaction can decide if they require the use of a smart card/token or not. Note that in most agencies, employees are usually required to sign with their smart cards.
Why do I need to use my Common Access Card (CAC), PIV smart card or derived credentials for signing documents?
- In compliance with Special Publication 800-63-2 “Electronic Authentication Guideline”, supplements OMB M-04-04, which defines four levels of assurance, Levels 1 to 4, in terms of the consequences of authentication errors and misuse of credentials. Level 1 is the lowest assurance level, and Level 4 is the highest.
- Level 4 is intended to provide the highest practical remote network authentication assurance. This authentication level is based on proof of possession of a key through a cryptographic protocol. At this level, in-person identity proofing is required. Level 4 is similar to Level 3 except that only “hard” cryptographic tokens are allowed.
Additional Resources
- Blog Post: How to E-Sign Documents Using Smart Cards
- Blog Post: E-Signing with Smart Cards in U.S. Government Agencies
- Blog Post: How to Configure Transactions for Signing with Digital Certificates
- Blog Post: How It Works: Qualified E-Signature Under eIDAS
- Documentation: Signing with a Certificate
- Community Portal: Introduction to Personal Certificate Client (PCC)
E-Signing from a Mobile Device
Step-by-step Instructions
Step-by-step Instructions
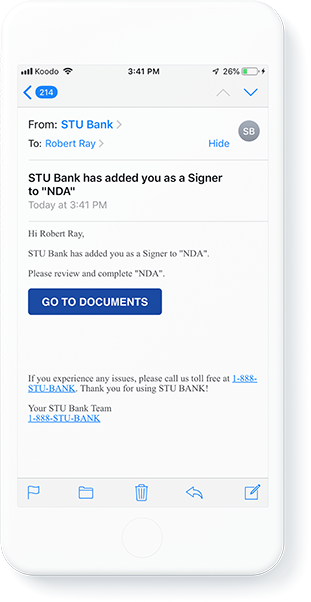
1) From the email requesting for you to e-sign, tap the ‘Go to Documents’ button to access the document you need to sign.
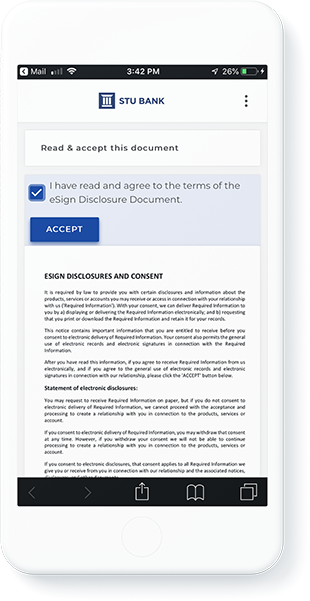
2) You are then directed to the ESIGN disclosures document. Tick the checkbox to confirm you have read the terms of the document and then click the ‘Accept’ button.
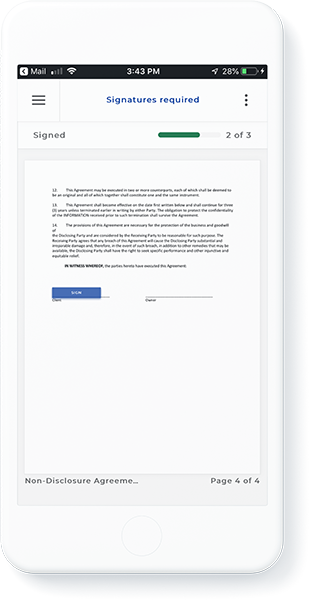
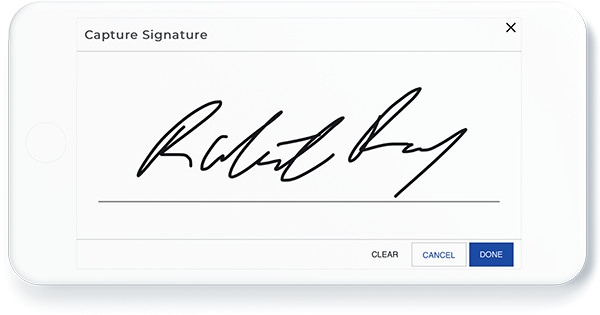
3) It’s time to e-sign the document. Tap the ‘Sign’ field to apply your signature. If a handwritten signature is required, the mobile signature capture pad will appear.
You can create a handwritten on your mobile device.
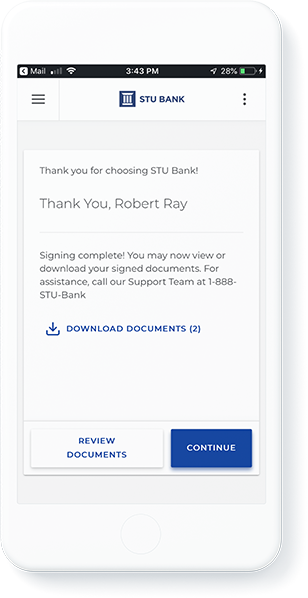
4) Once you are done signing the documents, click the Confirm button. Digital encryption is applied to the document as a final confirmation that the signing ceremony is complete. You’ll receive a ‘Thank You’ message at the end of the signing process and an email that the documents have been signed.
FAQ Questions
Is mobile signing available in my account?
Yes! Mobile signing is available for all OneSpan Sign accounts (signers do not need an OneSpan Sign account to e-sign documents). When accessed through a web browser on a mobile device, the UI and documents are optimally rendered, allowing for easy navigation during the e-signing process.
Is the mobile signing experience also available on tablets?
Yes! Signers can use their mobile phones and tablets to e-sign documents.
Can I send a document for e-signature from my smartphone or tablet using OneSpan Sign?
Absolutely! The Sender UI in the OneSpan Sign web application is completely responsive – no matter what device you use. Simply log in to OneSpan Sign from your smartphone or tablet (via a web browser) and send documents for e-signature. You can also download our iOS app or Android app natively from your mobile devices.
Change Signer
Step-by-step Instructions
Start by creating a transaction using the “New Transaction” button in the top right-hand corner.
Next, enter a name for your transaction.
Click the “Create” button to proceed.
It’s now time to add documents to your transaction. Click the “Add Document” button to upload a document from your files.
Next, add a recipient to the transaction. Enter their First Name, Last Name, and Email address.
Select the additional settings for the recipient.
In the recipient dialog box, select “Advanced”, then select “Change Signer”. As the sender of this transaction, this allows the recipient, Robert Ray, to assign someone else to sign the transaction.
Click “Save”.
Click “Next” to prepare your document for signature.
Now it’s time to add signature blocks to your document.
Your transaction is ready to send. Click “Send to Sign” to route your document for signing.
Robert Ray accesses the document from his email. He realizes he doesn’t have the signing responsibility for this document. He selects “More Actions”, and clicks “Reassign Recipient”.
A screen appears on the right-hand side. Robert will include information of the signer who will be reassigned to sign the document. He includes the signer’s first name, last name, email address, title, company, and a personal message. He clicks “Next”.
Robert also has the option to authenticate the reassigned signer’s identity using email, Q&A, or SMS authentication methods. In this example, he’ll select Email. He clicks the “Reassign” button. And then clicks “OK”.
As the reassigned signer, Charles Smith accesses the document from his email and completes the signing process.
FAQ Questions
Is Change Signer included with my OneSpan Sign account?
Yes! The Change Signer feature is available with all OneSpan Sign plans at no extra charge.
Can I use additional authentication methods to the signer I’m reassigning signing privileges before they access the document to sign?
Yes! If you are not the intended signer of the transaction, when reassigning signing privileges the appropriate person, you have the option of authenticating the reassigned signer’s identity using email, Q&A, or SMS authentication methods.
Can I leverage this feature programmatically via the OneSpan Sign API/SDKs?
Absolutely. Sample code is available in the OneSpan Sign Integrator’s Guide.
Additional Resources
Upload an Image of a Signature
Step-by-step Instructions
How Senders Can Allow Signers to Upload an Image of their Signature to the Transaction
Start by creating a transaction using the ”New Transaction” button in the top right-hand corner.
Next, enter a name for your transaction.
Click the ”Create” button to proceed.
Now it’s time to add a document to your transaction. Click the ”Add Document” button to upload a document from your files.
Next, add your recipient to the transaction.
After adding your document and recipient, click “Next” to prepare your document for signature.
Add a signature by clicking the ”Signature” field and moving the signature block to a desired location on your document. In the “Field Settings” section, select the “Capture Signature” option in the “Signature Type” dropdown menu.
In the toggle, select “From file” – this allows the signer to upload an image of their signature from their own files.
Your transaction is ready to send. Click ”Send to Sign” to distribute your document for signing.
How Signers Can Upload an Image of their Signature to the Transaction
Your signer will receive an email to access the document to e-sign. They will click ”Go to Documents”.
They will then be directed to the document that requires their signature.
When it’s time to e-sign the document. They click the “Sign” field to apply their signature.
The ”Capture Signature” screen appears. The signer clicks ‘Upload Image’ and then selects an image of their signature from their files to upload to the transaction. The image should be less than 1 MB in size and is autofit into the dimensions of the signature block.
The image of the signature now appears in the document. Once they are done signing the document, they will click the ”Confirm” button.
As a final confirmation that the signing process is complete, digital encryption is applied to the document.
How Signers Can Upload an Image of their Signature to the Transaction
Your signer will receive an email to access the document to e-sign. They will click ”Go to Documents”.
They will then be directed to the document that requires their signature.
When it’s time to e-sign the document. They click the “Sign” field to apply their signature.
The ”Capture Signature” screen appears. The signer clicks ‘Upload Image’ and then selects an image of their signature from their files to upload to the transaction. The image should be less than 1 MB in size and is autofit into the dimensions of the signature block.

The image of the signature now appears in the document. Once they are done signing the document, they will click the ”Confirm” button.

As a final confirmation that the signing process is complete, digital encryption is applied to the document.
FAQ Questions
Is there a file limitation for signers to upload an image as their signature?
The image should be in .jpeg format and less than 1 MB in size. The image is autofit into the dimensions of the signature block.
Upload an Attachment to a Transaction
Step-by-step Instructions
How Senders Can Request Signers to Upload an Attachment to the Transaction
Start by creating a transaction using the ”New Transaction” button in the top right-hand corner.
Next, enter a name for your transaction.
Click the ”Create” button to proceed.
Now it’s time to add a document to your transaction.
Next, add your recipient.
Click the ellipses icon for the signer who needs to upload an attachment to the transaction, then click ‘Settings’.
In the Recipient Settings dialog box, select ‘Attachments’.
As the sender, you can specify attachments the recipient will be required to upload before completing the e-signature process.
Click ‘Add’.
Enter the name of your signer and the description of the document attachment. Move the toggle to ‘Required’ to make it mandatory for your signer to upload the attachment. In this example, Robert Ray will be required to upload a copy of his driver’s license.
Click ‘Save’.
After adding your document and recipient, click “Next” to prepare your document for signature.
Add a signature field and move it to the desired location of your document.
Your transaction is ready to send. Click ”Send to Sign” to distribute your document for signing.
How Signers Can Upload an Attachment to the Transaction
Your signer will receive an email to access the document to e-sign. They will click ”Go to Documents”.
They will then be directed to the document that requires their signature.
When it’s time to e-sign the document. They click the “Sign” field to apply their signature.
Once they are done signing the document, they will click the ”Confirm” button.
The signer is prompted to upload an attachment to the transaction. They click the ‘Go to Uploads’ button.
The signer is directed to a screen to upload a copy of their driver’s license. Robert will attach a copy of his driver’s license and then clicks the ‘Finish’ button.
Robert successfully uploaded a copy of his driver’s license as an attachment to the transaction.
How Senders Can Approve Attachments Uploaded to The Transaction
From the dashboard, the sender selects the transaction and then downloads the attachment to verify that the signer provided the correct attachment.
After verifying the attachment, the sender selects ‘Complete’.
The evidence summary report captures all of the actions taken throughout the signing process, including:
- The signer adding the attachment to the transaction and
- The sender approving the attachment to complete the transaction
FAQ Questions
Is this feature included with my OneSpan Sign account?
Yes! The Upload an Attachment feature is available with all OneSpan Sign plans at no extra charge.
Is there a file limitation for signers to upload an image as their signature?
- Maximum file size: 16 MB
- Supported attachment file types: .pdf, .doc, .docx, .rtf, .odt, .jpg, .jpeg, .png, .bmp, .txt, .tiff, .tif, .gif, .xls, .xlsx